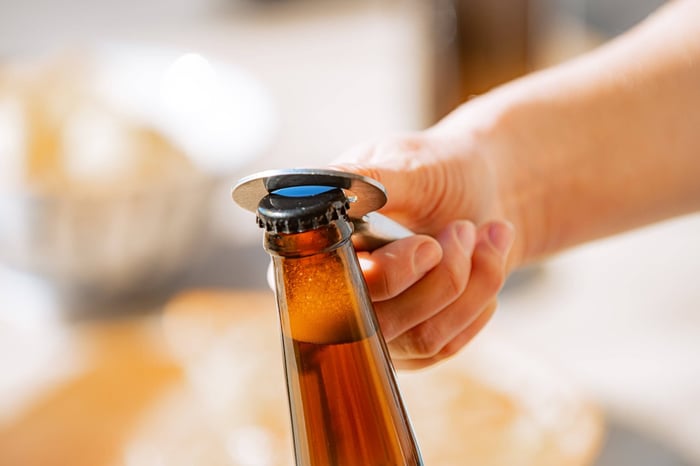
Bottling day has arrived – that satisfying moment when your carefully crafted brew finally gets packaged up for proper enjoyment. Whether you're making a classic New Zealand pilsner or experimenting with native hops like Nelson Sauvin, proper bottling technique separates good homebrew from something truly exceptional.
Let's dive into everything you need to master the art of bottling, from container selection to achieving perfect carbonation levels.
What Bottles Work Best for Your Homebrew?
Repurposing Plastic Bottles: Budget-Friendly BeginningThose 1.5-litre soft drink bottles you've been saving? They're perfect for getting started. They're built to handle carbonated beverages, labels peel off without too much hassle, and they cost absolutely nothing. The only downside is light protection – clear plastic offers zero defence against UV rays that can create skunky flavours, especially in hoppy beers. Keep them in a dark cupboard and you're sweet.
Reusing Glass Beer BottlesCollecting empties from your favourite brewery visits around New Zealand? Great thinking, especially if you can score brown glass bottles. They protect your beer from light damage much better than clear ones – crucial for maintaining quality in our bright summer sun.
Check each bottle thoroughly for chips or stress marks. Any damage means it's headed for recycling, not your precious homebrew. Some labels come off easily with warm soapy water, others seem welded on permanently. A good soak usually sorts them out.
Buying New Bottles: The Professional ApproachReady to invest in proper equipment? Your local homebrew supplier stocks everything from traditional crown-cap bottles to convenient swing-top varieties. Crown caps let you colour-code different batches (handy when you're making multiple styles), whilst swing-tops eliminate the need to buy caps every time.
Here's a neat trick with PET bottles: they work like carbonation indicators. When you first fill and cap them, you can squeeze the sides easily. Once they're fully carbonated, they become rock-solid – like having a built-in gauge for conditioning progress.
Getting Bottle Conditioning Right
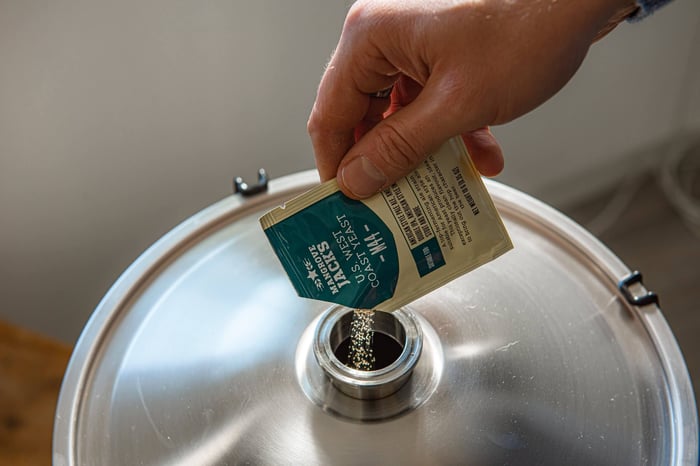
Bottle conditioning works by giving your yeast one last job to do. You're creating a controlled mini-fermentation that produces exactly the right amount of CO₂ to carbonate your beer perfectly.
Carbonation Drops: Easy and ConsistentThis couldn't be simpler. Fill bottles directly from your fermenter, drop in one carbonation tablet per 330ml bottle, cap it up, and you're done. It's foolproof and consistent – perfect when you're bottling different styles simultaneously or just want to keep things straightforward.
Priming Sugar Calculations: Precision ControlWant exact control over carbonation levels? Calculating your own priming sugar gives you flexibility to match traditional styles:
- New Zealand Lagers: 2.2-2.6 volumes CO₂
- Pale Ales: 2.0-2.5 volumes CO₂
- Porters and Stouts: 1.7-2.3 volumes CO₂
- Wheat Beers: 2.7-3.5 volumes CO₂
Making Your Priming Solution Dissolve your calculated sugar amount in about 475ml of boiling water – this sterilises everything whilst creating your solution. Let it cool to room temperature before using.
You can either transfer this to a bottling bucket and siphon your beer on top, or add it directly to your fermenter with gentle stirring.
Essential Bottling Tips and Techniques
Sanitation is Critical - Every single thing that touches your beer needs to be spotlessly clean and sanitised. This includes bottles, caps, transfer tubing, and any vessels you're using. One contaminated piece of equipment can ruin weeks of work.
Set up a systematic approach:
- Rinse bottles immediately after drinking
- Deep clean everything before bottling day
- Sanitise just before use with no-rinse sanitiser
- Keep clean equipment covered until needed
Confirming Fermentation is Complete - Never bottle actively fermenting beer – this is how you get dangerous over-carbonation and potential bottle bombs. Your hydrometer readings should be identical for at least two consecutive days before you even consider bottling.
The Dishwasher Sanitising Method - Your dishwasher makes an brilliant bottle sanitiser for glass bottles. Run it empty with detergent to clean it out, then load your bottles and run a hot cycle without any cleaning products. The sustained high temperature effectively sanitises everything.
Handling Problem Bottles - Sometimes you'll get a bottle that over-carbonates and froths everywhere when opened. Test another bottle before panicking – usually it's just one rogue bottle with contamination issues.
If multiple bottles show over-carbonation problems, don't bin them straight away. Set them aside for extended ageing. Wild fermentation sometimes develops complex, interesting flavours that improve dramatically over months.
New Zealand Climate Considerations
Our climate affects conditioning significantly. Hot summer temperatures speed up the process, whilst cooler winter conditions slow everything right down. Generally, allow 2-3 weeks at fermentation temperature before moving bottles to cooler storage.
Glass bottles show conditioning completion through sediment formation at the bottom. With PET bottles, that firmness test provides immediate feedback about carbonation progress.
Wrapping Up Your Bottling Journey
Bottling represents the final creative step in your brewing adventure. Whether you're crafting traditional Kiwi styles or developing unique recipes with local ingredients, proper technique ensures your hard work shines through in every bottle.
The core principles stay the same: maintain absolute cleanliness, verify fermentation is complete, and allow adequate conditioning time. Your patience during this final stage makes all the difference in quality and consistency.
Want to expand your brewing knowledge? Check out our comprehensive Brewing 101 series designed specifically for New Zealand conditions and ingredients.
Questions about your bottling technique? Get in touch – we love helping fellow Kiwi brewers perfect their craft.
Cheers to your brewing success,
Grainfather Team