Fermentation questions keeping you up at night? You're not alone, mate. Whether you're brewing your first batch in Auckland or perfecting recipes down in Dunedin, understanding fermentation is key to consistently great beer.
Let's tackle the most common fermentation questions we hear from Kiwi brewers, plus share some insights we've picked up along the way.
Q: How Long Should I Ferment My Beer?
A: You can't control fermentation time – but you can influence it
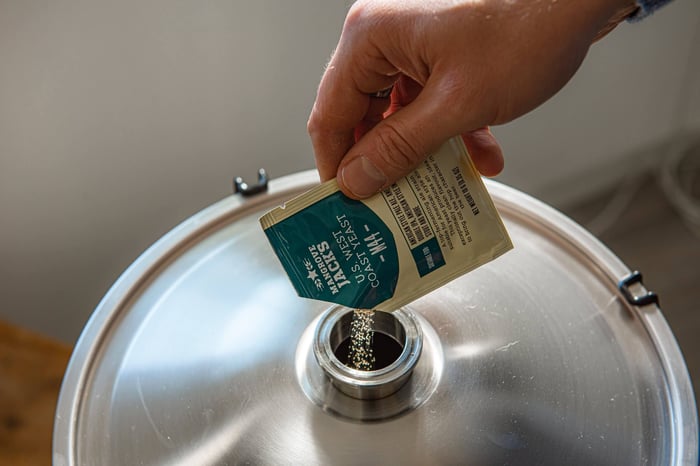
Here's the straight answer: fermentation takes as long as it takes. Once you pitch your yeast, they're running the show.
What you can control are the conditions that affect timing:
- Temperature (the big one)
- Yeast health and quantity
- Wort composition and gravity
- Oxygen levels at pitching
New Zealand Seasonal Considerations:
- Summer brewing: Garages can hit 30°C+ – consider temperature control or heat-tolerant yeasts
- Winter brewing: Unheated spaces might struggle below 15°C
- Spring/Autumn: Perfect natural conditions for most ale yeasts
Q: What Temperature Should I Ferment At?
A: Aim for the sweet spot of your yeast strain
Every yeast has a preferred temperature range, and staying within it makes all the difference. The general rule: target the lower-middle range of your yeast's specification.
Practical Examples:
- Yeast range 18-24°C → Target 19-21°C
- Yeast range 10-15°C → Target 11-13°C
Regional Brewing Tips:
- North Island summers: Consider fermentation chambers or swamp cooling
- South Island winters: Basement brewing or heat belts might be needed
- West Coast: Stable temperatures are brilliant for consistent results
Special Cases:Some styles actually benefit from higher temperatures:
- Saisons: Often ferment best at 25-28°C
- Wheat beers: Can handle 22-25°C beautifully
- Kveik strains: These Norwegian yeasts thrive at 30°C+ without off-flavours
Q: How Do I Know When Fermentation Is Actually Finished?
A: Ditch the airlock, grab your hydrometer
The biggest mistake new brewers make? Judging fermentation by airlock activity. That bubbling sound is mesmerising, sure, but it's not telling you much about actual progress.
The Reality Check:CO2 can escape through loose lids, making airlocks go silent while fermentation continues happily. Conversely, temperature swings can cause bubbling even when fermentation's done.
The Reliable Method:Use a hydrometer or refractometer to measure specific gravity. Take readings on consecutive days – when they're stable for 2-3 days, fermentation's complete.
Pro Tip: Keep detailed notes of your gravity readings. Over time, you'll recognise patterns for different yeast strains and beer styles.
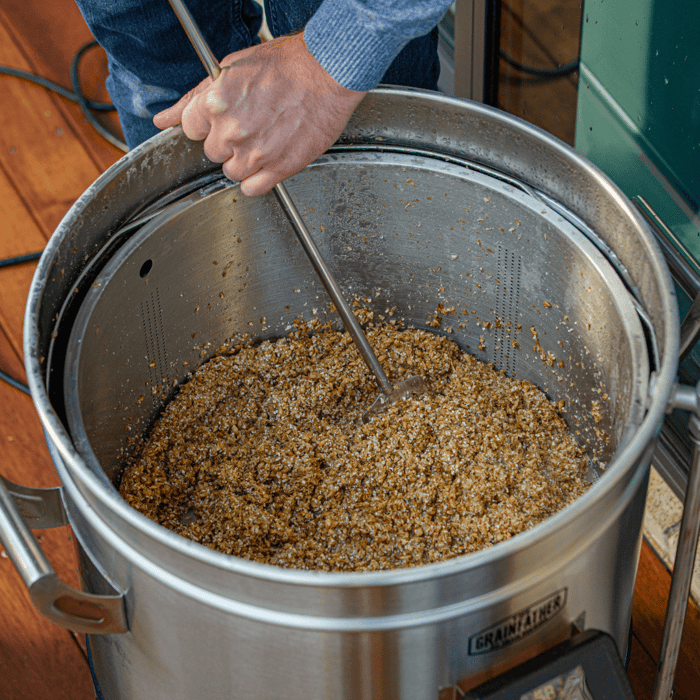
Q: What Should My Beer Look Like While Fermenting?
A: It depends on the phase and yeast characteristics
Opening your fermenter is like opening the oven while baking – sometimes better to trust the process. Clear fermenters are brilliant for observing without contamination risk.
What to Expect:
Early Days (0-2 days):
- Minimal visible activity
- Possible light foam forming
- Gentle temperature increase
Peak Fermentation (2-5 days):
- Thick krausen (foam) layer
- Active rolling motion in the wort
- Strong CO2 production
Late Fermentation (5-10 days):
- Krausen changes colour (white → cream → brown)
- Activity slows noticeably
- Beer begins clearing
Maturation (10+ days):
- Clear or clearing beer
- Yeast settling at bottom
- Minimal surface activity
Q: Should I Use Secondary Fermentation?
A: Generally not necessary for most beers
The old-school approach was always racking to secondary, but modern understanding shows the risks often outweigh benefits.
Skip Secondary For:
- Standard ales and lagers
- Beers fermenting under 3 weeks
- Most homebrew batches
Consider Secondary For:
- Extended aging (months)
- Adding fruit or dry hops
- High-gravity beers needing long conditioning
- Clearing very cloudy beers
The Risk Factor:Every transfer introduces oxygen and contamination risk. Your beer's usually better off left alone in primary.
Q: What If My Fermentation Seems Stuck?
A: Start with temperature, then investigate further
Quick Checks:
- Temperature: Is it within yeast range?
- Gravity: Has it actually stuck, or just slowed?
- Time: Some yeasts are naturally slower
Solutions That Work:
- Raise temperature by 2-3°C
- Gentle swirling to rouse yeast
- Add yeast nutrients if gravity's high
- Pitch fresh yeast as last resort
New Zealand Success Stories:We've helped brewers from Northland to Southland solve stuck fermentations – usually it's temperature-related and easily fixed.
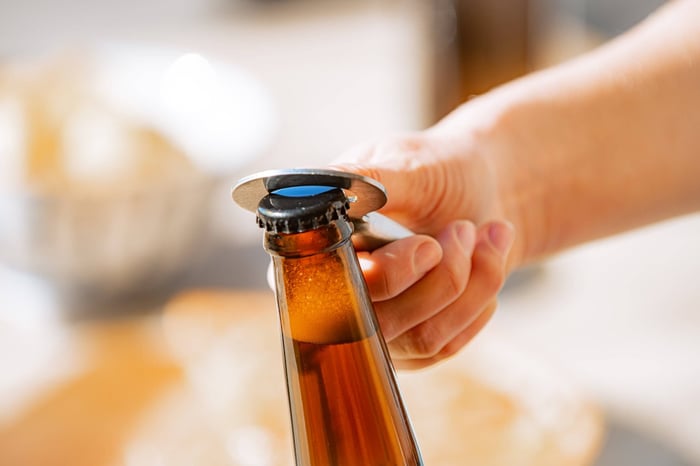
Q: When Should I Package My Beer?
A: After stable gravity readings plus a few days rest
Don't rush this bit. Once fermentation's confirmed complete, give your beer a few days to settle and mature. This rest period improves clarity and allows flavours to balance properly.
Packaging Readiness Checklist:
- Stable gravity for 2-3 days ✓
- Beer has cleared or is clearing ✓
- Off-flavours have cleaned up ✓
- You've decided on bottling or kegging ✓
Ready to package? Check out our detailed guides on bottling your beer and kegging techniques to get your beer into the glass perfectly.
Regional Brewing Support
From Kerikeri to Invercargill, we're here to help Kiwi brewers succeed. Every region has its unique challenges – hot summers up north, cold winters down south, and everything in between.
Got specific questions about brewing in your area? Drop us a line – we love hearing from fellow brewers and sharing solutions that work.
Grainfather Team